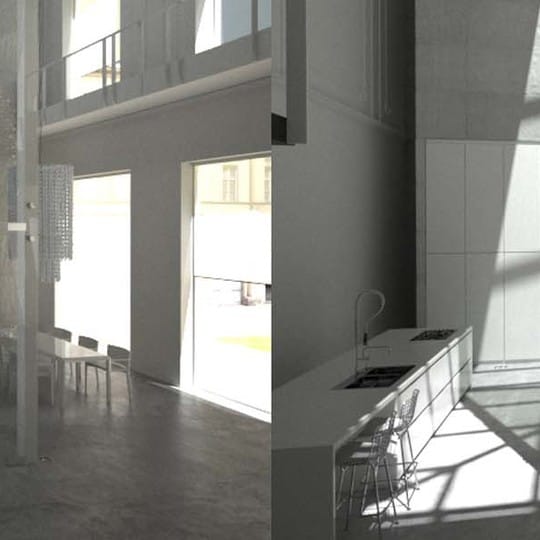
Introduction
Moving a scene from one application to render in another is not easy. FBX gets you part of the way there with geometry, basic lights, cameras and maybe animation, but it doesn’t work for specific items like V-Ray lights and materials.Using V-Ray scene files can help solve that problem. It can bring in much more.
What’s a V-Ray scene file?
V-Ray has a few of its own proprietary file formats. The most popular format is the V-Ray mesh file (.vrmesh) for proxy objects. It’s used to offload huge amounts of data, and then renders it on-demand instead. It’s great for heavy geometry, instanced objects and even full environments. It does its job well, but it only translates geometry. Any shaders would need to be reattached.
The V-Ray scene file (.vrscene) isn’t as popular as V-Ray mesh yet, but it just received a major update. It solves the problem that V-Ray mesh does not. Originally developed as a way to render to V-Ray standalone, V-Ray scene files include everything needed to render. That means it’s also possible to render directly from a command-line — without opening the file in a 3D application.
Opening a V-Ray scene file in another application
In V-Ray 3.5, V-Ray scene files can now be exported from one application, and then imported and rendered in another. It contains a complete, render-ready asset.
What comes through?
- Geometry with UVs
- Shaders
- Lights*
- Hair
- Baked animation
*Not all applications import lights. Maya does. 3ds Max does not.
What doesn’t come through?
Because V-Ray scene files are imported as a single object in 3ds Max, or as a single node in Maya, everything comes in as one. So certain items cannot be selected in the 3D application itself, such as:
- Individual shaders
- Individual lights
- Cameras
- Editable geometry — Geometry comes in as one, similar to V-Ray mesh files.
- Geometry and shaders that depend on plugins may not come through. Generally, if they render with V-Ray standalone, then they should come in.
Note: It is possible to select and change certain parts of the V-Ray scene using overrides. More on that later.
What are the use cases?
Here are a few examples where V-Ray scene files could come in handy.
Sharing assets between VFX studios
Imagine two VFX studios working together on the same film. One studio creates an environment using V-Ray Maya, and the second studio wants to render their animated character from 3ds Max in that same environment. The first studio shares a V-Ray scene file of their environment, and the other loads it up in 3ds Max. Everything they need to render comes right through. At this point, they can even change lighting if they want.
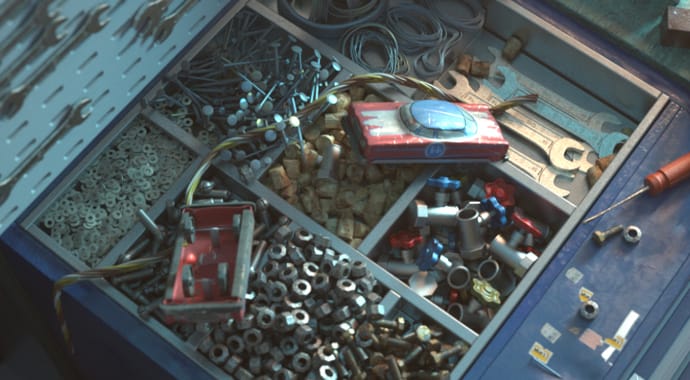
Render done in V-Ray for Maya
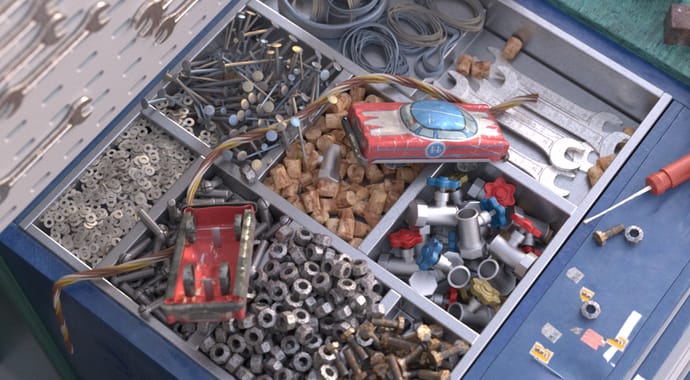
Render done in V-Ray for 3ds Max using V-Ray scene file and alternative lighting
Importing models you buy online
Let’s say you buy a detailed furniture model online, but it only comes as a 3ds Max file. With V-Ray scene, you can import this into Maya and keep the shaders intact. You can even duplicate the object or make multiple copies, no problem.
Sharing lighting with comp
Let’s say you light a scene in V-Ray for Maya, and your compositor wants to render out the same scene with adding a Houdini VDB in V-Ray for NUKE. You can simply share your lighting setup as a V-Ray scene file. Then, the compositor’s NUKE renders will match your Maya renders.
How to go from 3ds Max to Maya
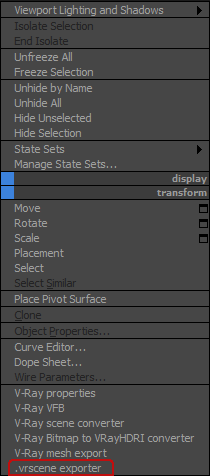
With your scene open, right click in any viewport and select .vrscene export. Here, you can decide which options you want, including exporting animation. To find out more info about each of the options, visit our help docs.
Once in Maya, you’ll use the Scene Manager to import your V-Ray scene. This will create a node that you can place anywhere. If you want the location to match the original, place it at 0,0,0.
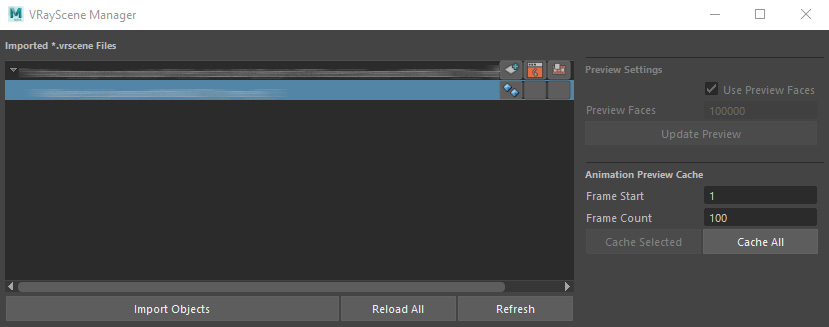
Remember, scenes in 3ds Max are usually Z-up and Maya is Y-up. When you import, the scene should automatically flip to Y-up, but you can choose to flip it or not.
How to go from Maya to 3ds Max
Writing a V-Ray scene file from Maya differs slightly from 3ds Max. First, open the render dialog. Then, in the common tab, you’ll find a Translator section where you can export your .vrscene file. Here, you can also tell your scene not to render, if you’re only interested in exporting the file. If you’d prefer to use MEL script, you can use the vrend command to export as well.
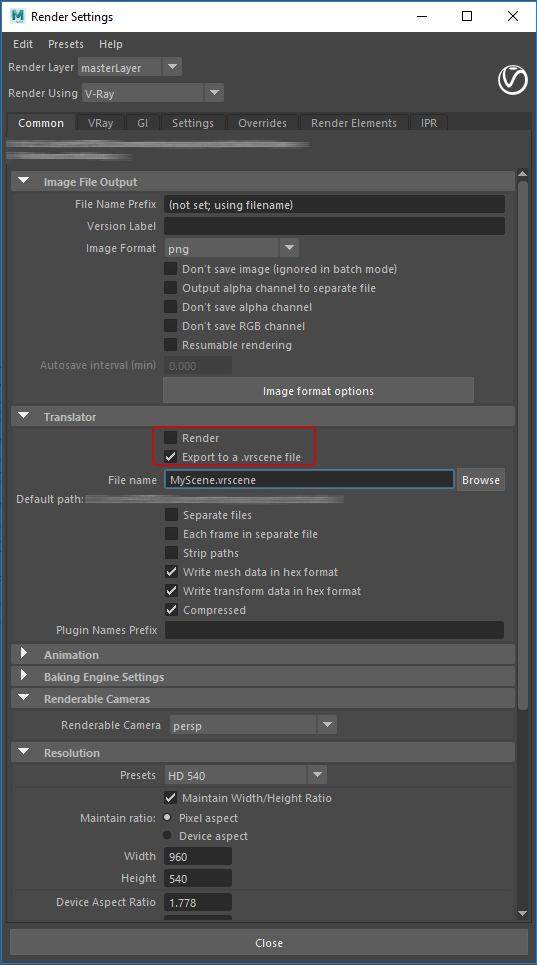
Now, over in 3ds Max you can create a VRayScene object to import your file. Since you’re moving from a Y-up to a Z-up world, you can decide to flip your axes automatically or manually keep them the same. Also, if you want it in the original position, make sure that the object is at 0,0,0.
Using overrides to alter the V-Ray scene
You can override certain parameters of your V-Ray scene with just a bit of code. For example, by adding the following code to the Override Snippet, you can assign a new clay material to all the objects in the scene.
// Create new clay material.
BRDFDiffuse clayBrdf {
color=Color(0.35,0.35,0.35);
}
MtlSingleBRDF clayMtl {
brdf=clayBrdf;
}
// Override material on all Node plugins.
Node <*> {
material=clayMtl;
}
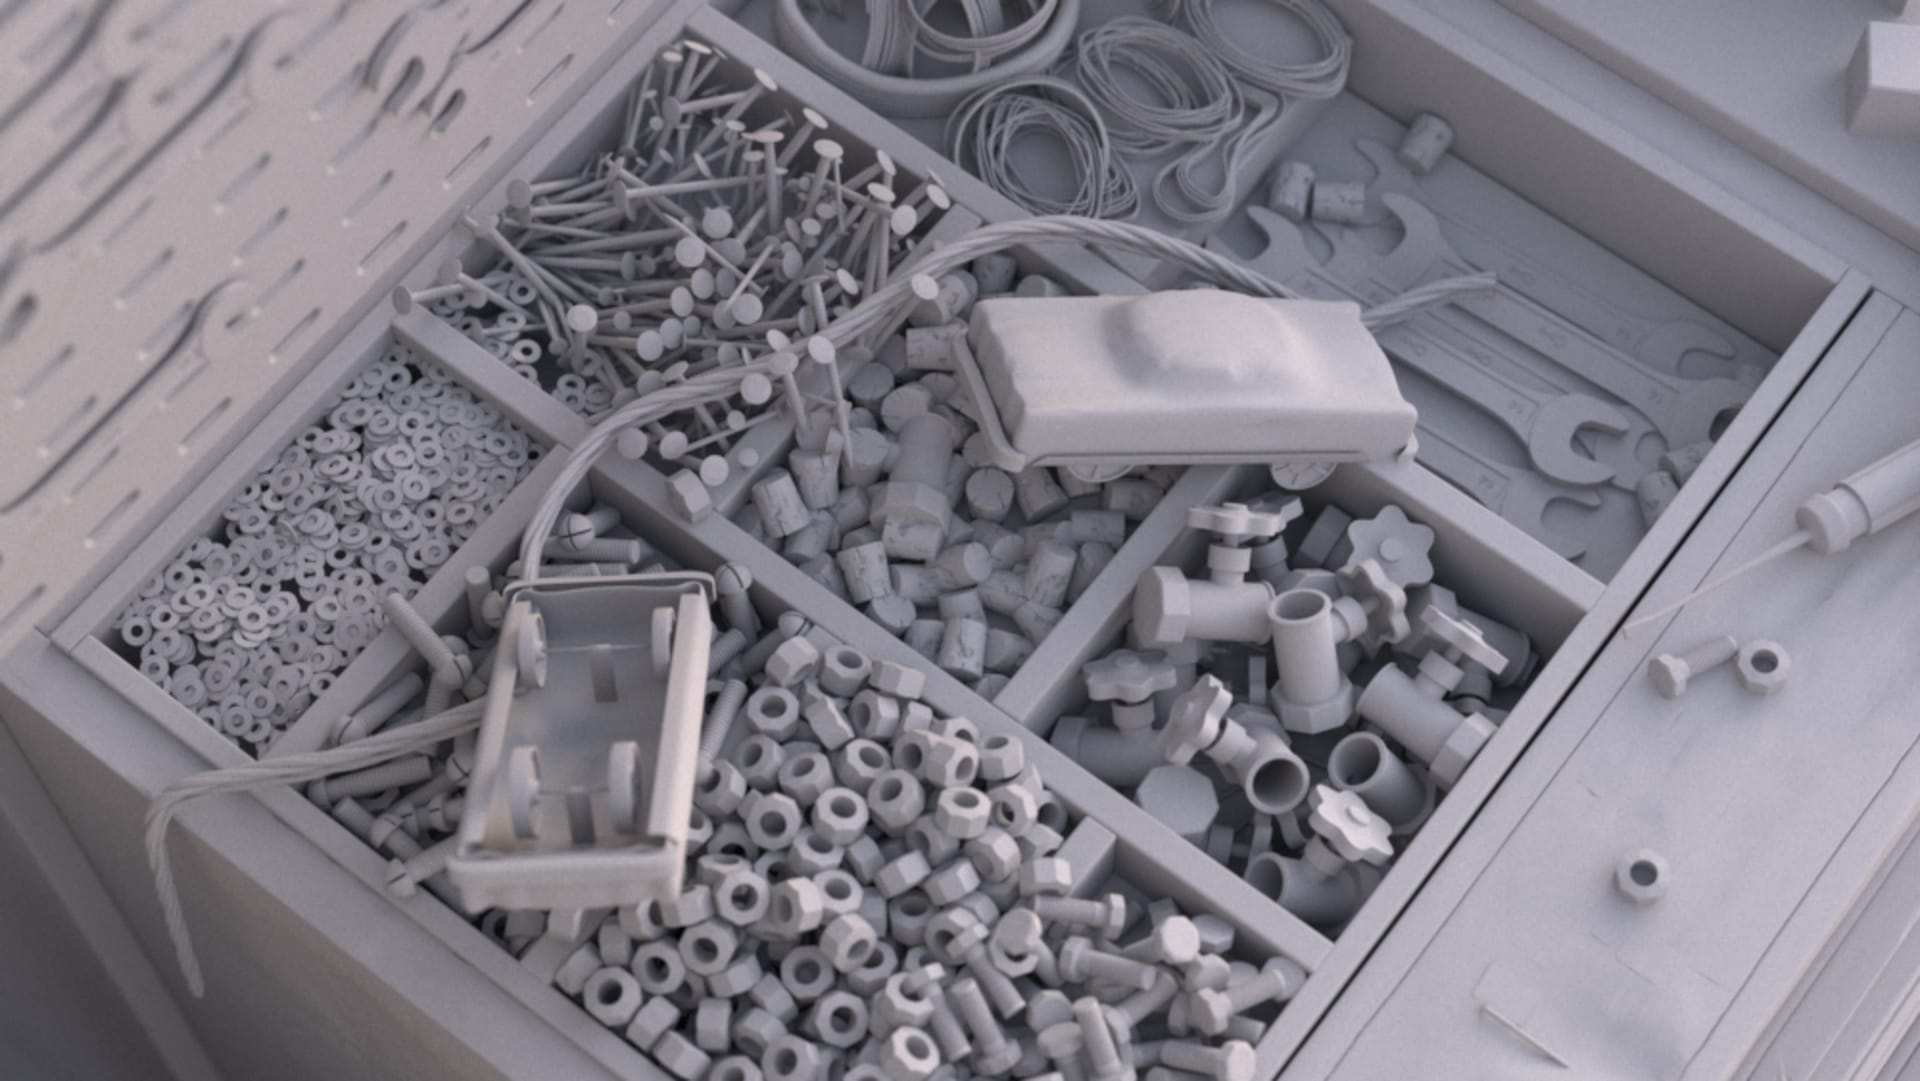
Here are some additional samples of overrides that can be done:
// MATERIAL OVERRIDE EXAMPLES
//
// Create new shadeless material.
BRDFLight shadelessBrdf {
color=Color(0.15,0.35,0.35);
affect_gi=false;
}
MtlSingleBRDF shadelessMtl {
brdf=shadelessBrdf;
}
MtlWrapper shadelessMtlAlpha {
base_material=shadelessMtl;
alpha_contribution=-1;
}
// Create new clay material.
BRDFDiffuse clayBrdf {
color=Color(0.35,0.35,0.35);
}
MtlSingleBRDF clayMtl {
brdf=clayBrdf;
}
// Override material on all Node plugins.
Node <*> {
material=clayMtl;
}
// PATTERN MATCHING EXAMPLES
//
Node <*SphereShape[1-2]*> {
material=shadelessMtlAlpha;
}
Node <*SphereShape5*> {
material=shadelessMtlAlpha;
}
GeomStaticSmoothedMesh <*> {
edge_length=8;
}
GeomDisplacedMesh <*> {
edge_length=8;
}
// EXACT NAME MATCHING
//
// Override transform of the “pSphereShape1@node” object.
Node pSphereShape1@node {
transform=Transform(Matrix(Vector(0.5, 0.0, 0.0),
Vector(0.0, 0.5, 0.0),
Vector(0.0, 0.0, 0.5)),
Vector(0.0, 0.0, 0.0));
}
// OVERRIDE WITH NEW IMAGE FILE TEXTURE
//
BitmapBuffer MyBitmap {
color_space=2;
file=”/Users/bdancer/scenes/vrayscene/car_scene/car_interior/Textures/carbon01_3.jpg”;
gamma=1;
}
UVWGenMayaPlace2dTexture MyMapping {
repeat_u=5;
repeat_v=5;
uvw_channel=0;
}
TexBitmap MyBitmapTexture {
bitmap=MyBitmap;
uvwgen=MyMapping;
}
// Override “color_tex” parameter of the “VRayMtl1@diffuse” plugin with
// the “MyBitmapTexture” texture.
BRDFDiffuse VRayMtl1@diffuse {
color_tex=MyBitmapTexture;
}
// MATERIAL OVERRIDE IN 3DS MAX
//
// Create some material, for instance, with name “test_override” in 3dsmax and
// apply it to the VRayScene object.
// Override all Node plugins with 3ds max native material.
Node <*> {
material=test_override;
}
Conclusion
V-Ray scene files can be helpful when you want to move entire, renderable scenes — with all geometry, shaders and lights — from one 3D application to another. And since V-Ray scenes are parsable, it’s possible to override certain aspects, like shaders. Hope you find it useful in production.

