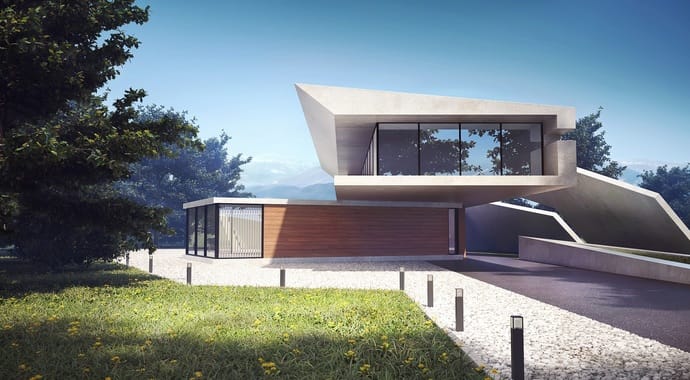
Leonardo Bartz from Mint Studios renders entirely on GPU. He reveals his workflow and shows how he makes use of V-Ray Next for 3ds Max's new features.
Workflow without post-production
Our studio has developed a simple workflow which renders exclusively on GPU, and thanks to V-Ray Next for 3ds Max we can run the entire production pipeline on GPU. Here, I'll give you a quick overview of our workflow.
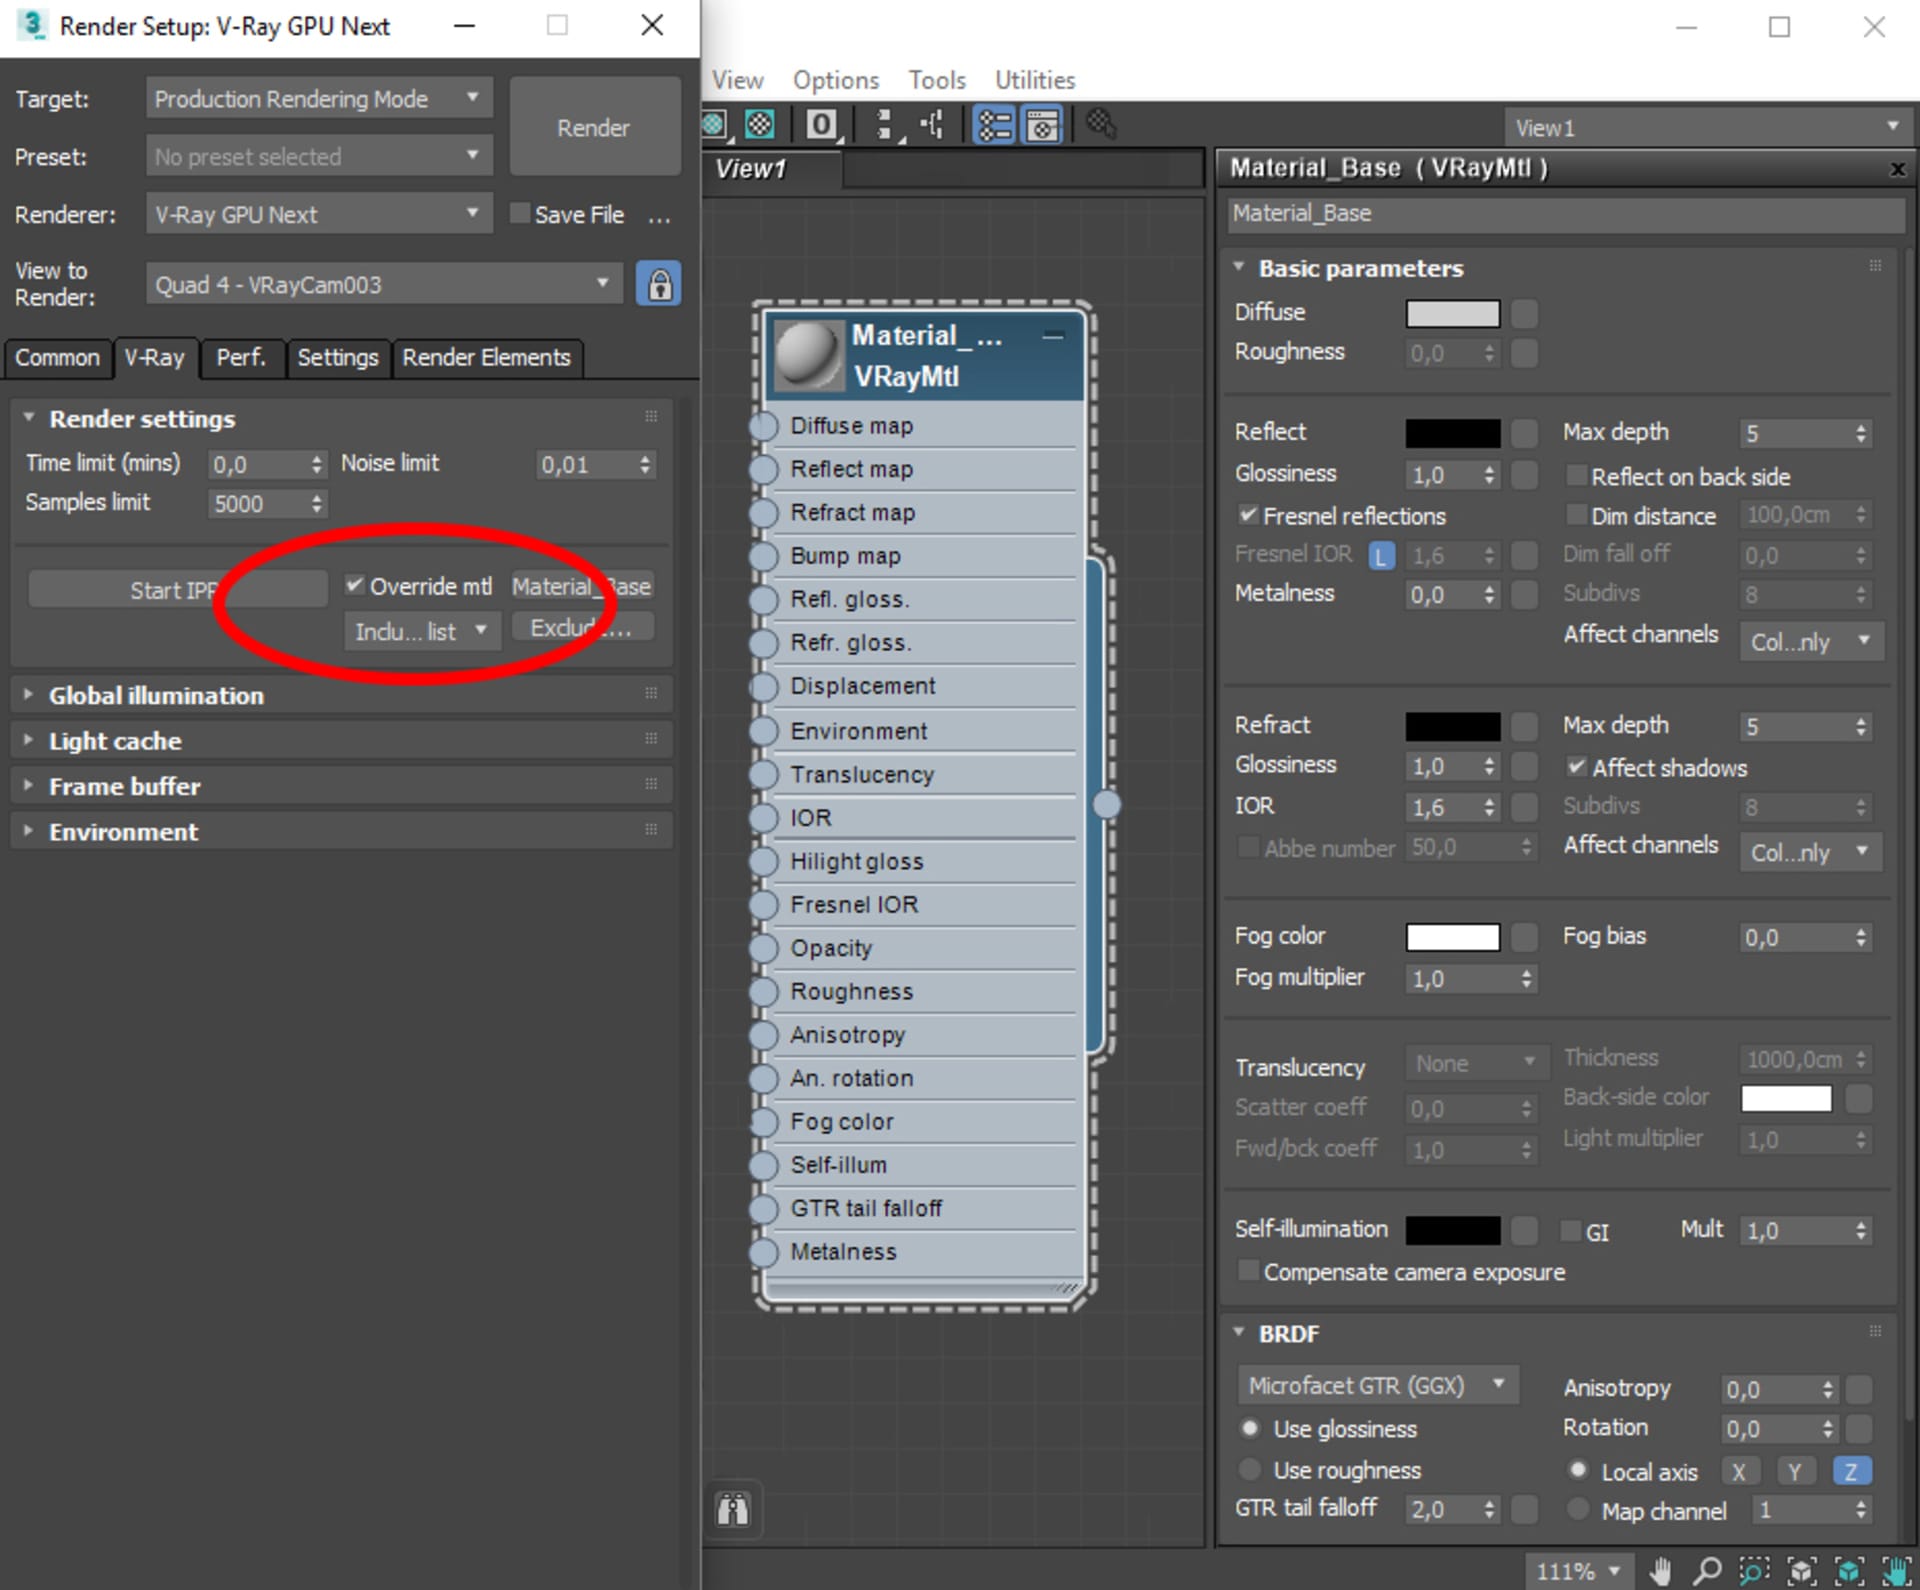
After modelling, a base material is applied to the entire scene with Override mtl, and the lighting process starts.
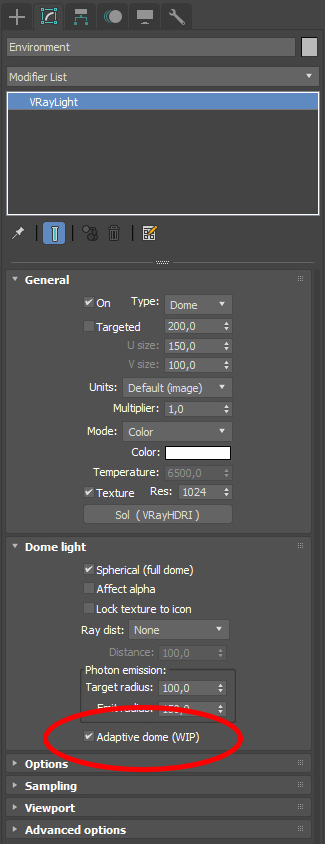
Our light setup starts with a V-Ray Dome Light with an HDR. We stopped using light portals after the V-Ray Next Beta introduced the Adaptive Dome Light, which gives us more flexibility and significantly reduces our render times. Sometimes we'll add a V-Ray Sun for better sunlight control.
When the lighting looks good enough, we disable the Override mtl and start Interactive Rendering to adjust some settings, like lights, materials and cameras.
We have seen a significant improvement in render times between V-Ray 3.6 and V-Ray Next. With the VRayDenoiser element we have adapted our workflow with IPR to get real-time feedback on every aspect of the scene.
We’ve made a choice not to leave the 3ds Max environment throughout the whole cycle of the project. This simplifies the pipeline and speeds up the process. Photoshop is a powerful post-production weapon, but we want to automate the 3D visualization process and leaving 3ds Max would break our workflow. We have found the V-Ray Frame Buffer to be powerful enough to add the final lick of polish, and all of our images are created without any post-production.
Before (left) and after (right) adjusting the image with the V-Ray Frame Buffer
Optimizing for GPU
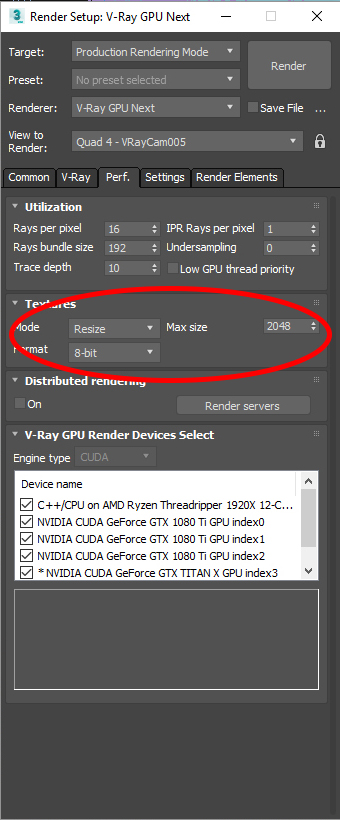
We use a few tricks to optimize the process of rendering with V-Ray GPU. We do not use 3D displacement. If you really need it, you can achieve the same effect by setting high Edge length values and turning off View dependent, which can increase the memory usage with resolution. In most cases, you can limit the textures or use on demand mip-map. You can set this in the Perf. / Textures render tab.
Use Forest Pack Pro (if you have it) for vegetation or any scattered geometry. This handles the memory more efficiently.
Hardware
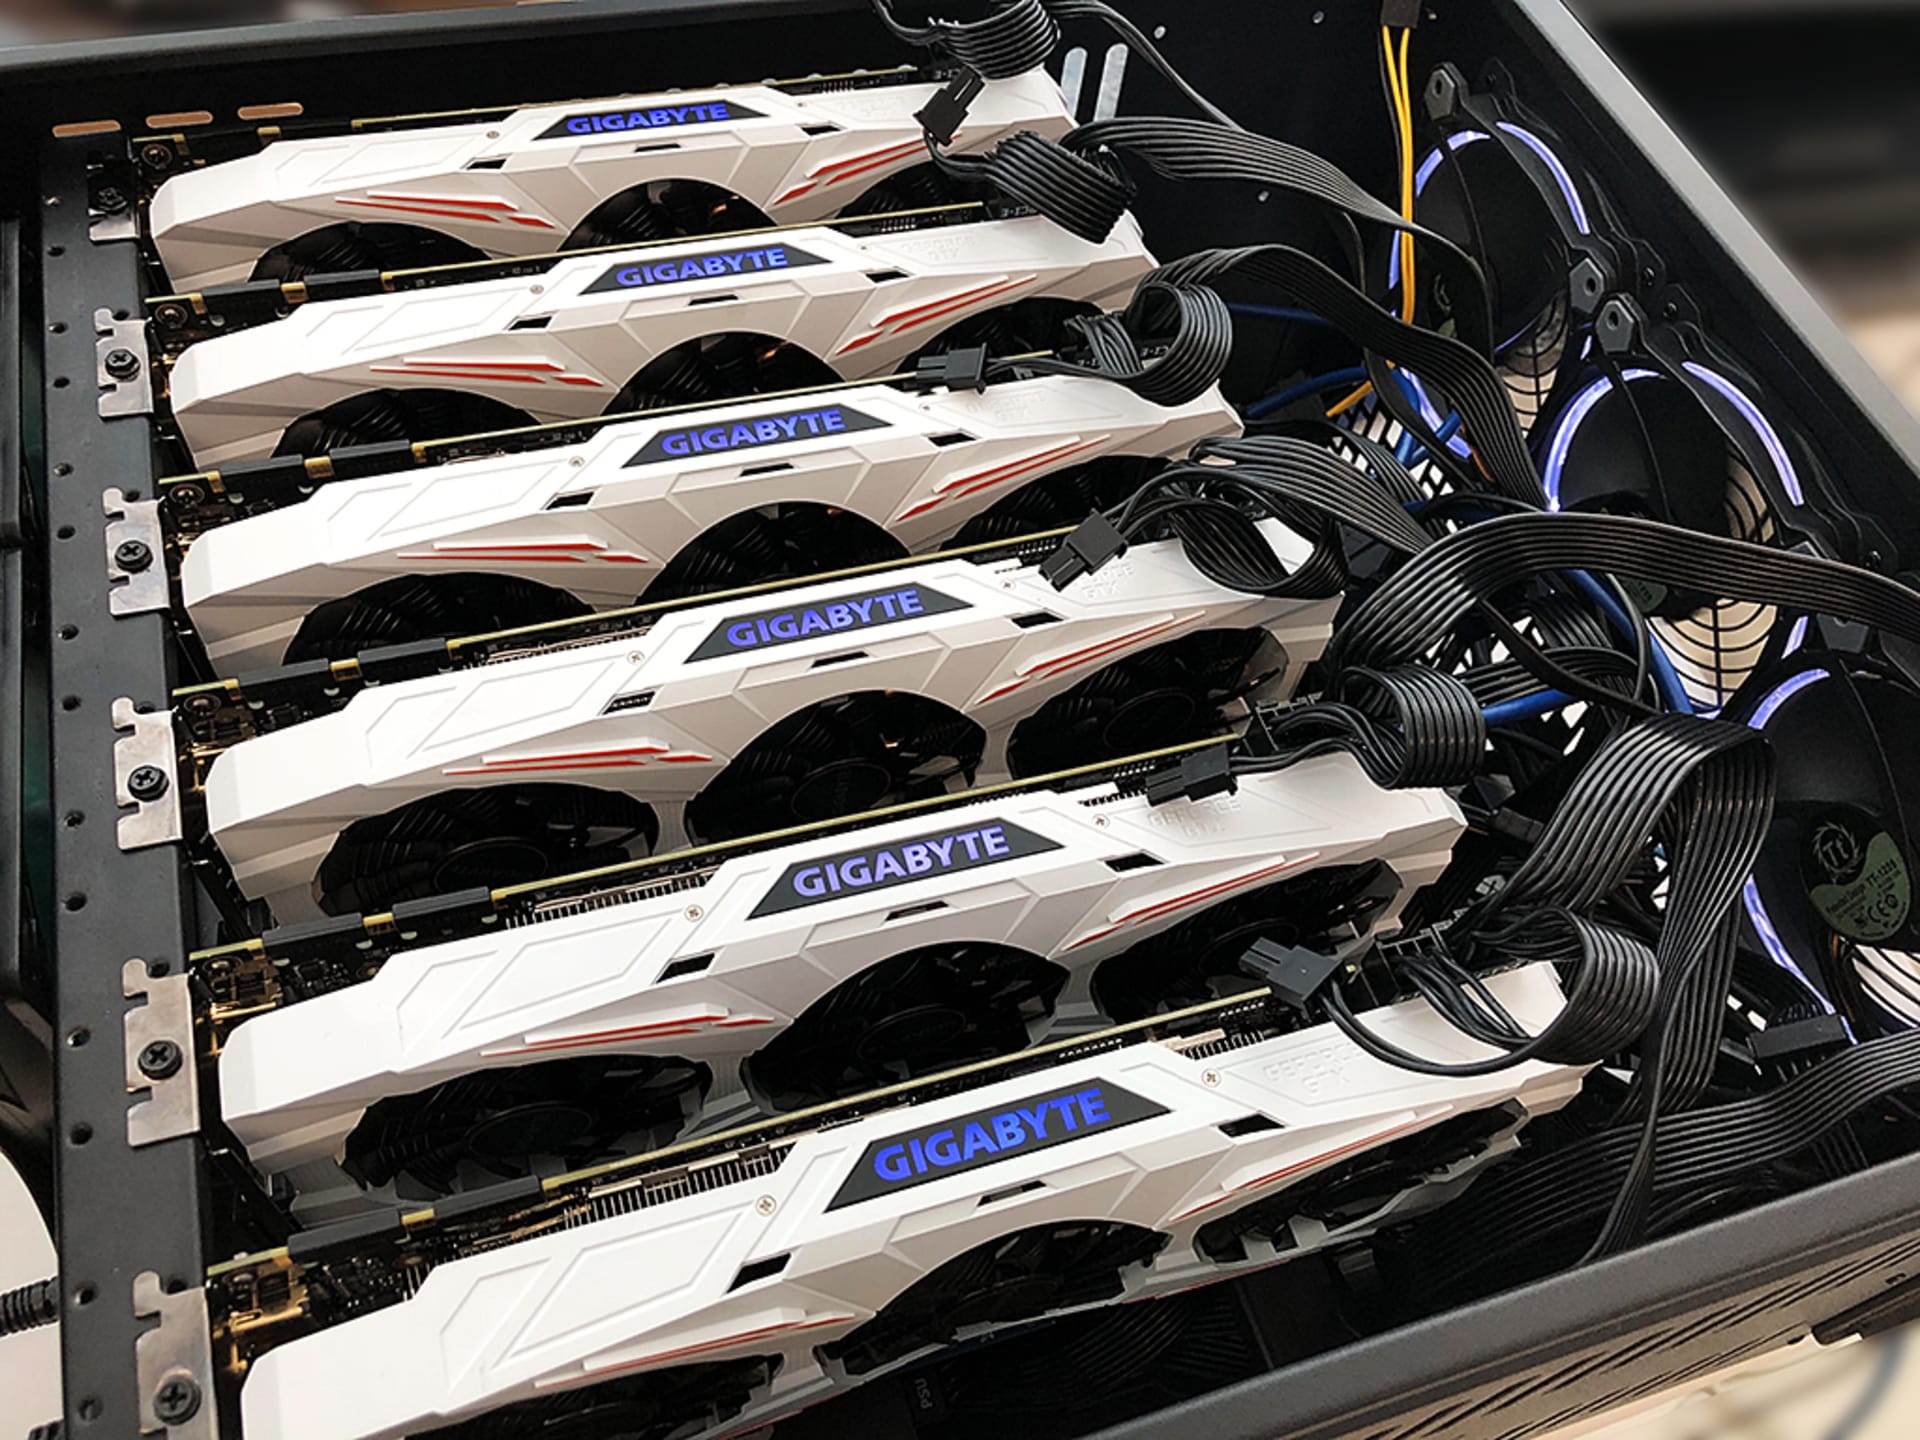
We rely on workstations that take full advantage of GPU rendering, with four GTX 1080 Ti each with AMD Ryzen Threadrriper processors. Our first render node is the same as our workstations, but with two more GPUs. We are planning to build a second render node, but this time with four Quadro V100s to get 64 GB of RAM with NVLink.
Our render times are very fast on our workstations. Small previews (1500 px) take from one to five minutes, while high-resolution images (7000 px) range from 15 to 60 minutes.
The future
I expect the next wave of GPU hardware will address some of the current challenges, with more RAM and shared memory, like Nvidia´s NVLink, available in cheaper VGAs.
I come from a Machine Learning background and I can envision a neural network for the creation of a 3D scene from beginning to end. It will be able to test different settings, choose what 3D assets to use, and try varied materials. With enough training, the network will be able to tell good decisions from bad and will become more capable over time. Render engines are almost real-time, and settings are simpler than ever, so the creation of a neural network is no longer in the realms of sci-fi, and simply a matter of time.


thumb.jpg?1542034029)
